You’re looking at before-and-after photos online. You’ve mentally cataloged what you want fixed — maybe the discoloration, the chip on your lateral incisor, or the slight crowding that’s bothered you since high school. You’re not wrong for thinking about all of it. The problem is how most people — and, honestly, how too many dental practices — approach what comes next.
They start with the visible finish and skip the structure underneath. They whiten before stabilizing. They place veneers on teeth with unaddressed bite issues. They produce beautiful results that look exactly right for 12 to 18 months, then quietly begin to crack, shift, or stain in ways that weren’t anticipated.
A smile makeover done well is one of the most powerful things cosmetic dentistry can deliver. Done in the wrong sequence, it’s one of the most expensive corrections to undo.
This guide covers the techniques, the logic, and the sequence that separates smile transformations that last decades from ones that need revisiting within two years. If you’re in the Rio Grande Valley — Edinburg, McAllen, or Pharr — and you’re thinking seriously about this, you need more than a treatment menu. You need a framework.
What a Smile Makeover Actually Is (and What It Isn’t)
A smile makeover is a customized plan that combines two or more cosmetic and restorative dental procedures to improve the appearance — and often the function — of your smile. It’s not a single treatment. It’s a strategy.
That distinction matters. “Smile makeover” gets used interchangeably with teeth whitening, veneers, or any cosmetic procedure. In clinical reality, it refers to a coordinated plan where multiple factors — tooth color, shape, length, spacing, gum symmetry, and overall facial proportion — are addressed in a deliberate sequence.
According to the American Academy of Cosmetic Dentistry, 99.7% of Americans believe a smile is an important social asset. The same research found 74% feel an unattractive smile can directly affect career success. These aren’t soft statistics. They reflect how much weight people unconsciously assign to what they see when you smile.
But the number that should actually change how you read this guide: a 2025 study found that 56% of adults routinely conceal their smile in social situations — not just occasionally, but as a default habit. That kind of self-editing compounds over time in ways that go well beyond aesthetics.
Smile makeovers address that. Not just cosmetically, but structurally — the way your bite aligns, the way your gum line frames your teeth, and whether the restoration will hold under the actual conditions of your daily life.
A cosmetic change that ignores function is just decoration. The techniques that actually work treat both.
Why Most People Approach This Backwards
Most patients come in with a clear idea of what they want at the end: straighter teeth, a brighter shade, no visible chips. That’s a reasonable starting point. The mistake is treating those goals as the first conversation instead of the last one.
Across most consultations we see in cosmetic dental practices, the breakdown looks the same. Someone has spent months researching veneers, they arrive committed to that outcome, and they don’t want to hear that their gum disease needs to be treated first. Or that the shade they’ve chosen will look artificial against their skin tone under natural light. Or that their bite pattern will put stress on porcelain restorations in exactly the spots they’re most concerned about.
The most common mistake we see in cosmetic dentistry is sequencing treatments in the order the patient prefers instead of the order that will produce lasting results.
Dentists who don’t push back on this tend to produce work that patients love for 18 months and quietly regret by year three.
Most people don’t fail at choosing the right treatment. They fail at choosing it in the right order.
Introducing the SMILE Method

The sequence that separates lasting smile transformations from short-lived ones follows five stages. Each one addresses a distinct layer of the outcome — and each one depends on the stage before it.
The SMILE Method:
- S — Stabilize (oral health first, always)
- M — Map (define what you want with clinical precision)
- I — Individualize (build the right combination of treatments for your situation)
- L — Layer (apply treatments in the sequence that protects the result)
- E — Elevate (maintain and protect what you’ve built)
This isn’t a checklist — it’s a logic chain. Skipping S means any cosmetic work placed on top is at risk from the start. Skipping M means treatment is driven by general preference rather than your specific anatomy and bite. The steps compound.
Walk through each one.
S — Stabilize: Your Oral Health Has to Come First
Stability means your mouth is in a condition where cosmetic work will actually hold. That includes healthy gums, no active decay, no untreated infection, and a bite that doesn’t place excessive force on specific teeth.
This is the step most patients want to rush past. It’s also the step that determines whether their investment lasts 10 years or 2.
If you have gum disease, for example, veneers placed on inflamed tissue will face ongoing problems — receding gums expose margins, colors shift, and the structural foundation keeps deteriorating underneath the cosmetic overlay. The fix for this is to treat the gum disease first, completely, and then reassess the cosmetic plan.
Same principle applies to stained teeth caused by old silver (amalgam) fillings. If your makeover plan includes veneers or crowns, those old restorations need evaluation first. Tooth-colored composites that replace them may change the overall shade picture significantly — which directly affects what shade you select for your porcelain restorations.
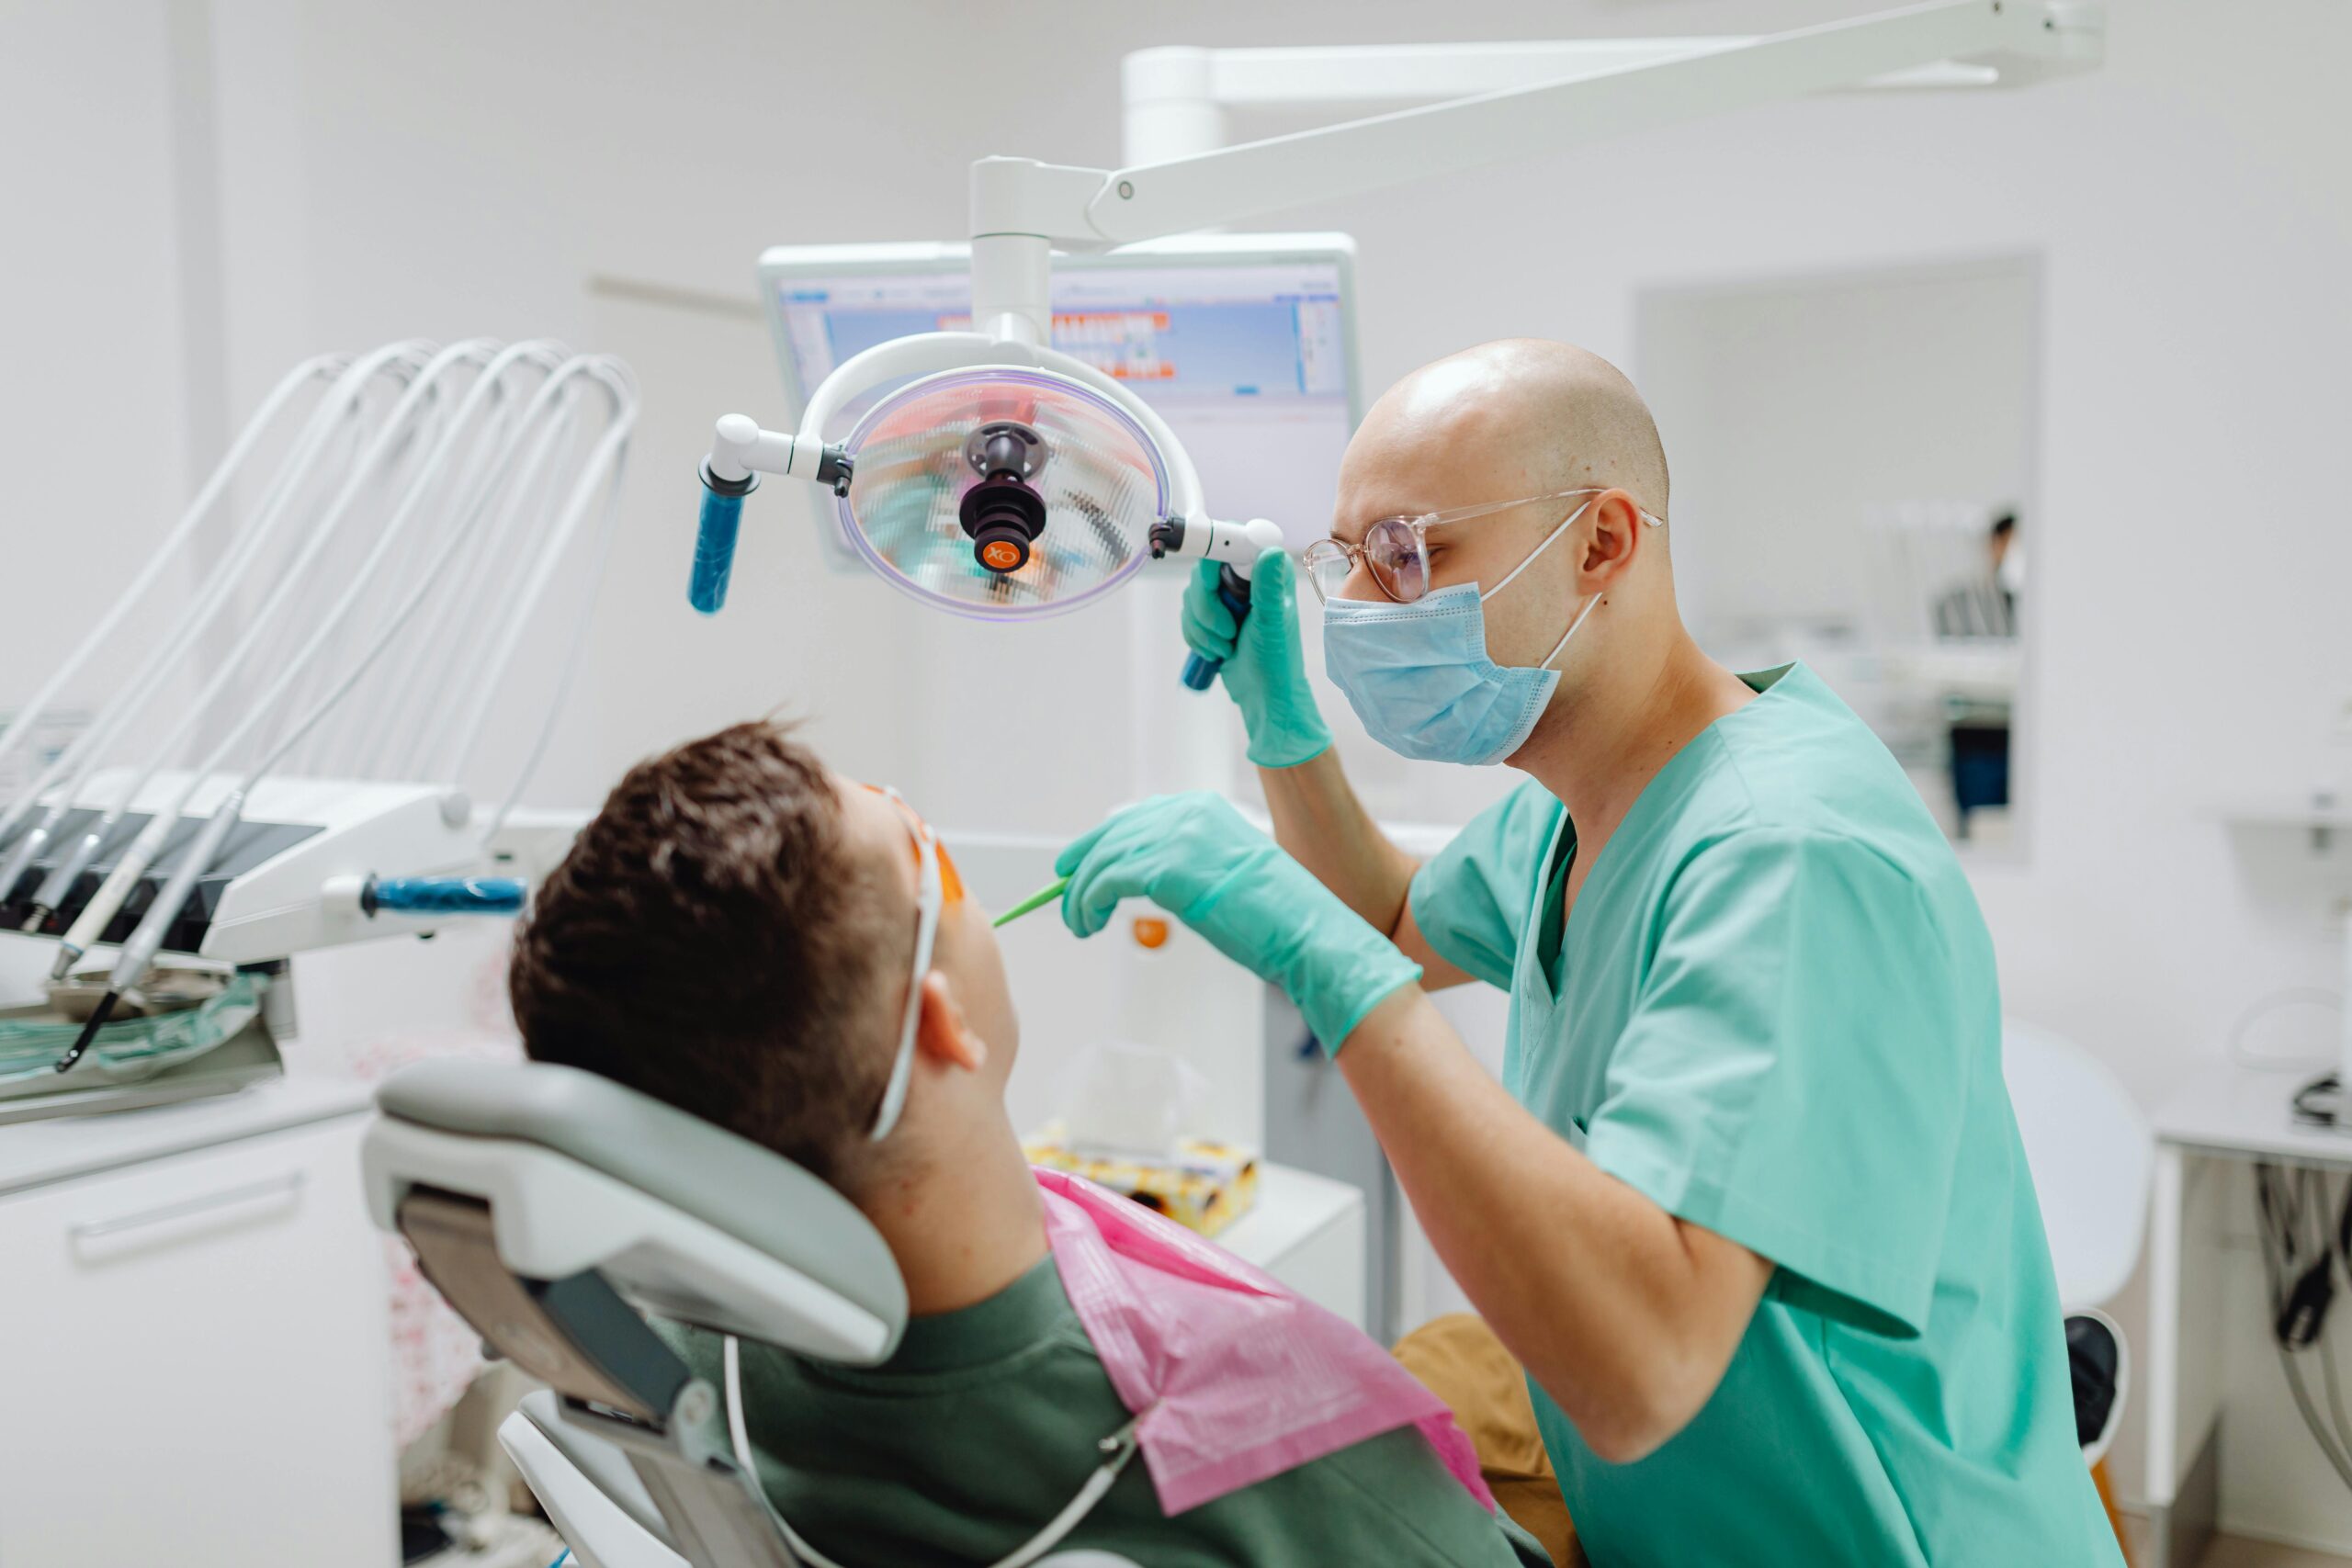
The standard advice is to do a consultation and then immediately move to treatment planning. In practice, thorough diagnostic records — photographs, X-rays, bite analysis, gum health assessment — should come before any treatment decision. Practices that skip this tend to produce work that looks good at the end of the first appointment and creates complications at the start of the fifth.
Oral health stabilization is not a delay in your smile makeover. It’s the foundation your results stand on.
M — Map: Define Your Goals With Clinical Precision
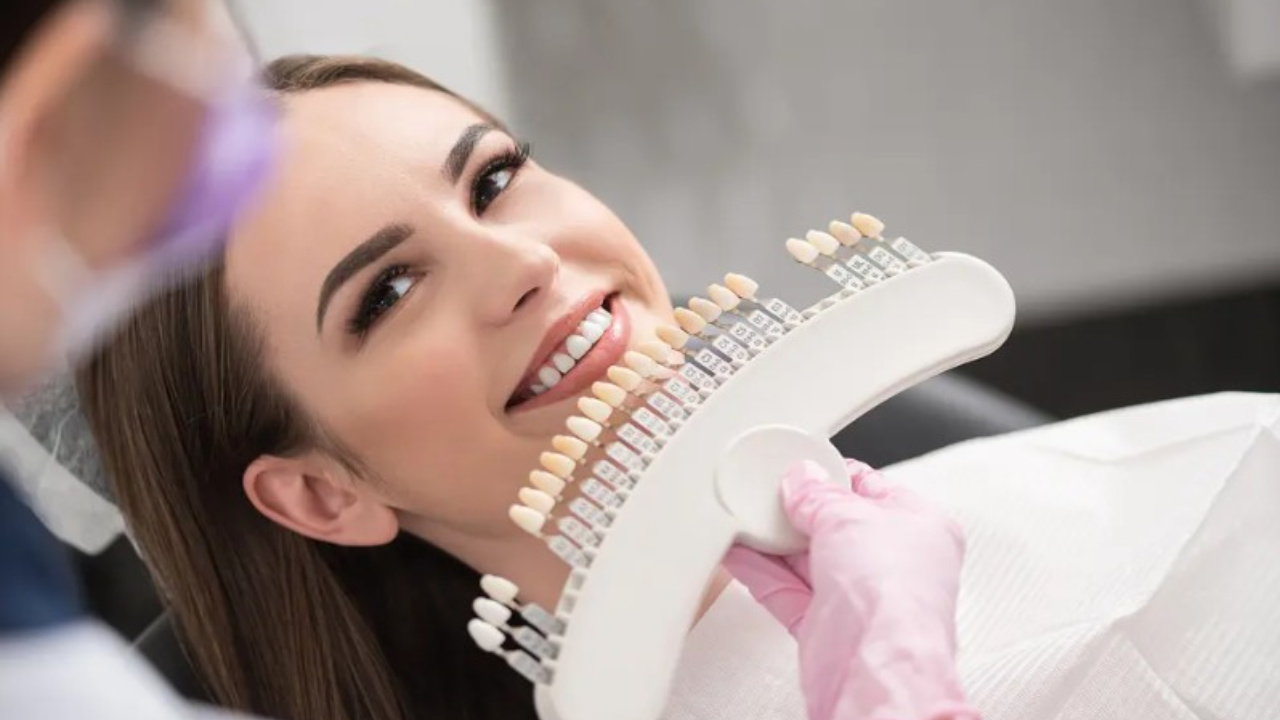
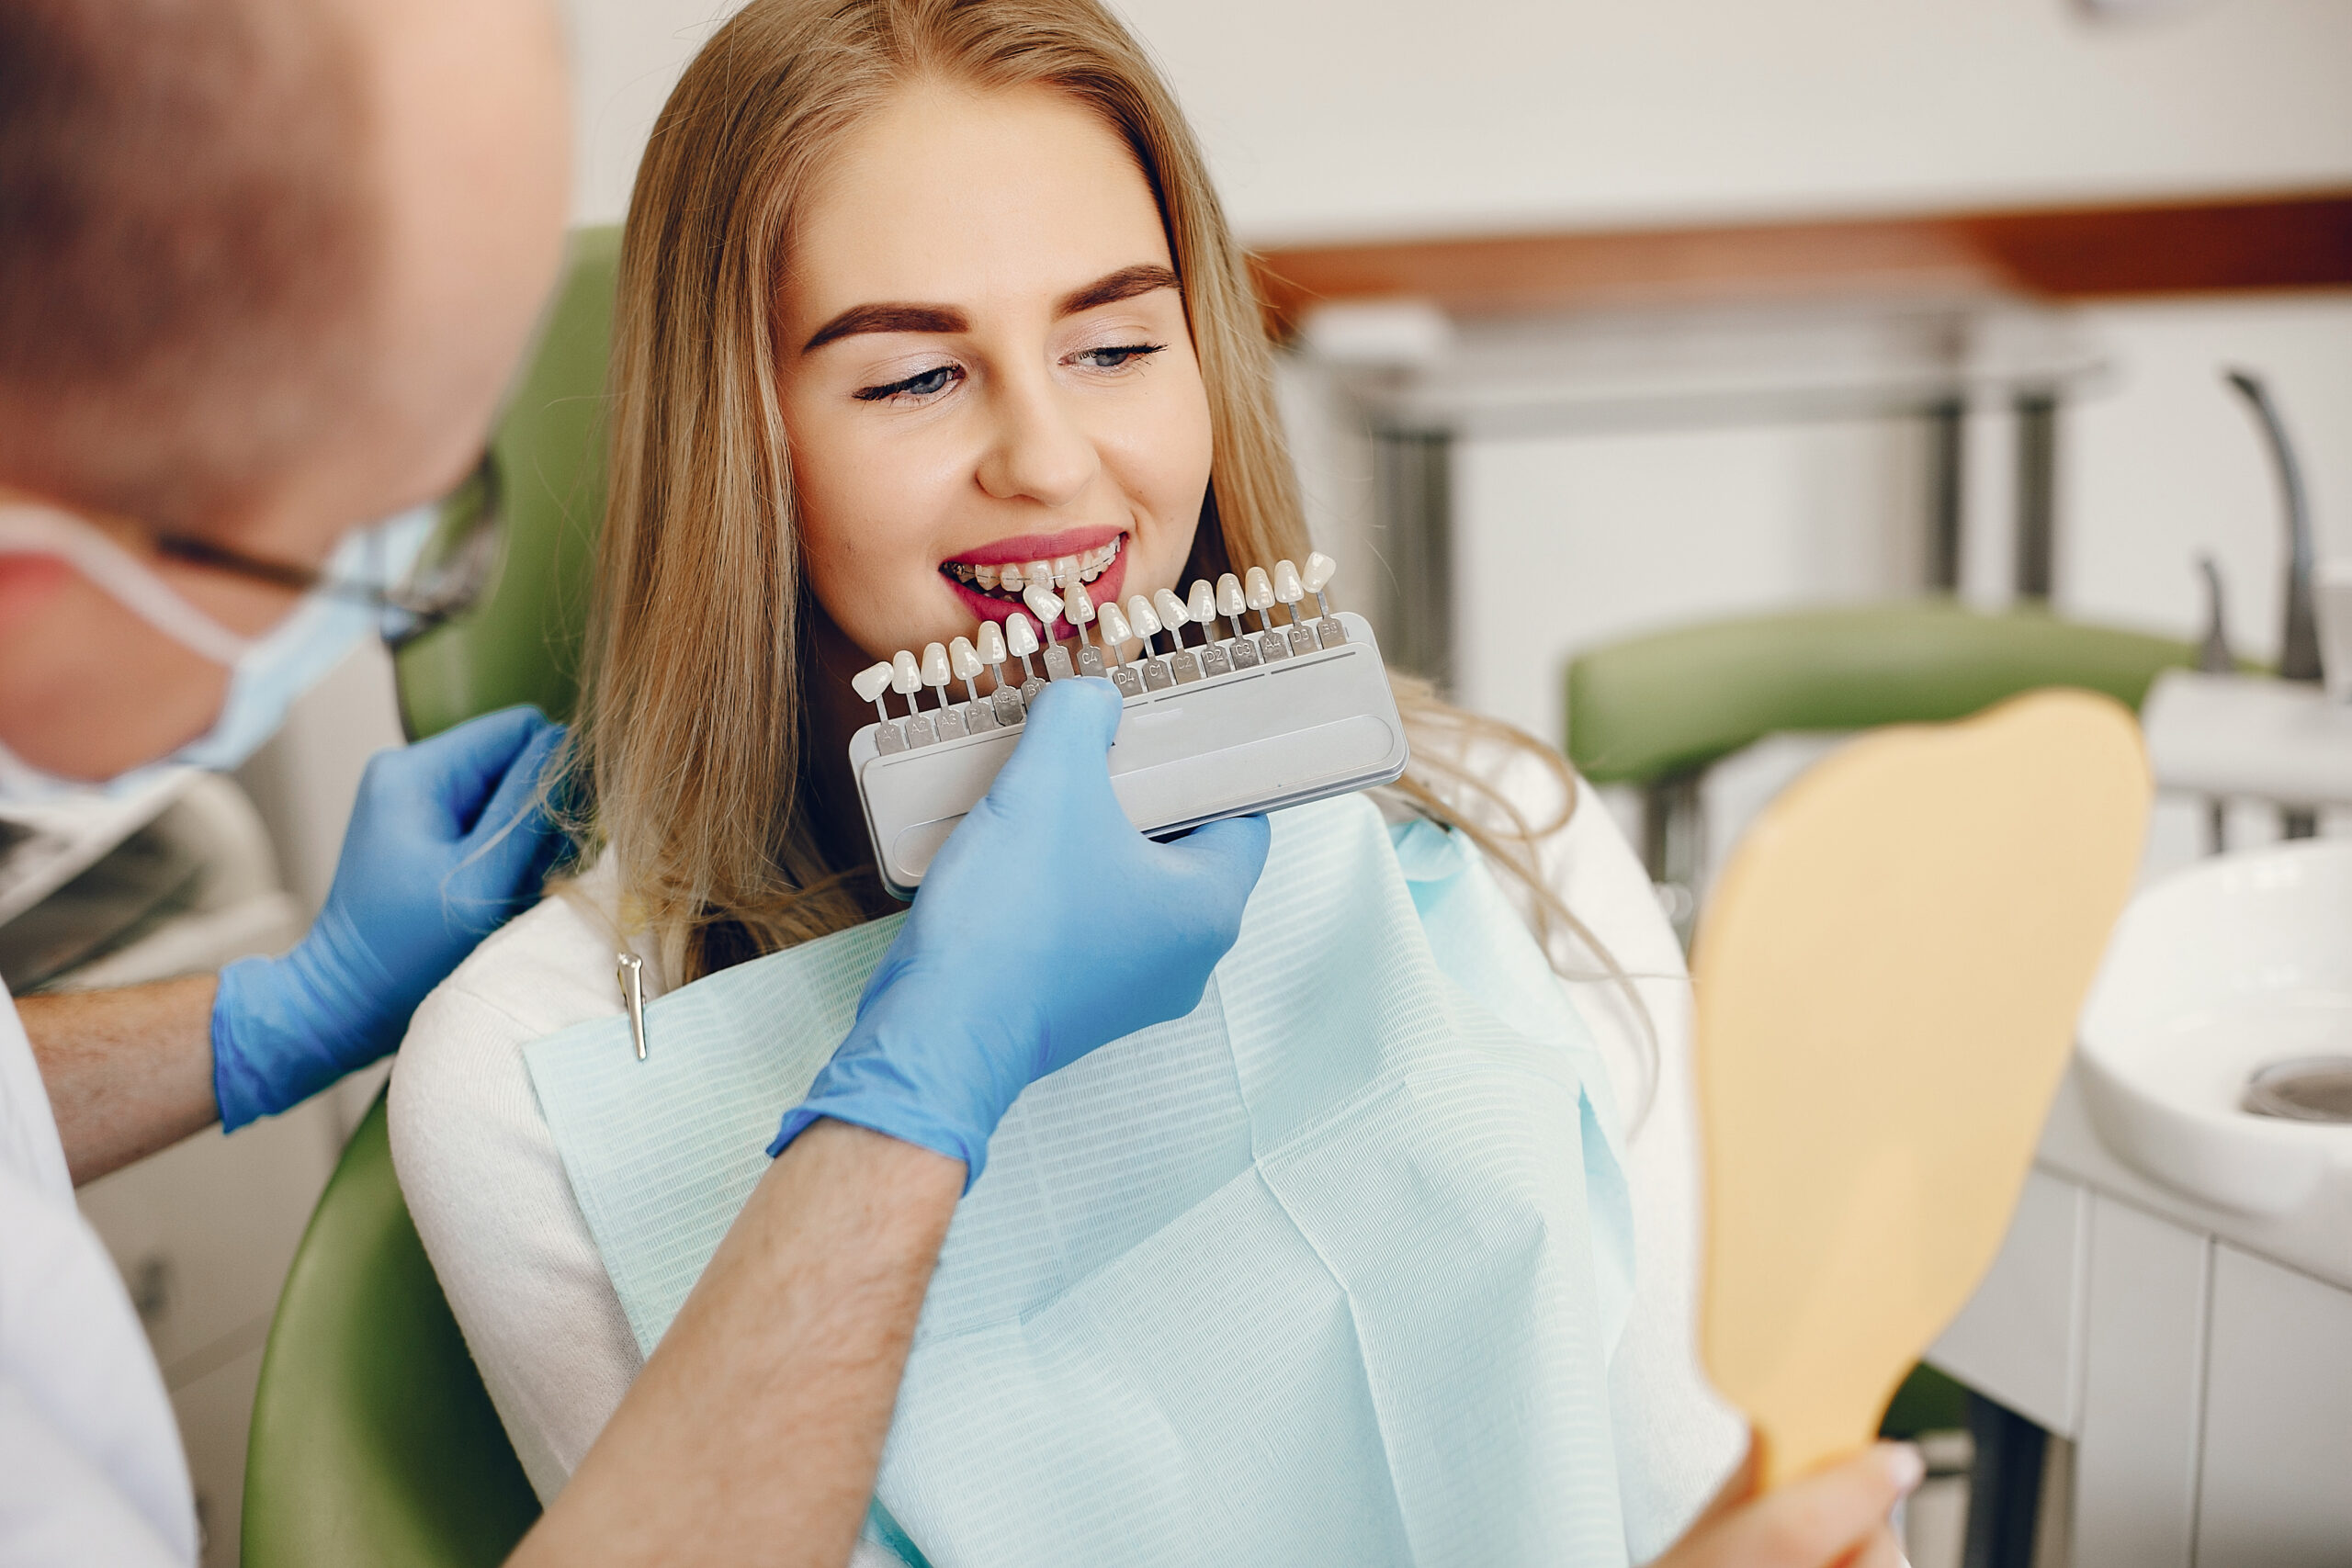
Mapping means translating what you want visually into clinical parameters that can be planned, measured, and communicated to a dental lab. “I want whiter teeth” is a goal. “I want to reach shade A1 using porcelain veneers that account for my skin undertone and the natural translucency of my lateral incisors” is a map.
You don’t need to know the clinical terminology. That’s what your dentist is for. But you do need to be specific about what bothers you and what matters most — not in the order of severity, but in the order of personal priority.
A few questions that help clarify the map:
- Is your primary concern color, shape, alignment, or all three?
- Are you bothered by gaps, chips, or the overall proportions of your smile?
- Do you want results that look noticeably transformed, or naturally refined?
- Are there aspects of your smile you actually like and want preserved?
That last question gets asked less often than it should. Patients sometimes come in focused on what’s wrong and end up with changes that affect parts of their smile that were working fine. Mapping includes preserving what’s good, not just fixing what isn’t.
Here’s where a skilled cosmetic dentist earns their fee — not in the technical execution, which is relatively standardized, but in the planning phase where they’re aligning your aesthetic preferences with what your facial structure, gum line, and tooth anatomy will actually support.
I — Individualize: Building Your Treatment Stack
The treatment stack is the combination of specific procedures that will be used to reach your mapped goals. This is where most “smile makeover guide” articles spend all their time — listing procedures. Here’s the honest summary, and what each technique actually does in practice.
1. Teeth Whitening
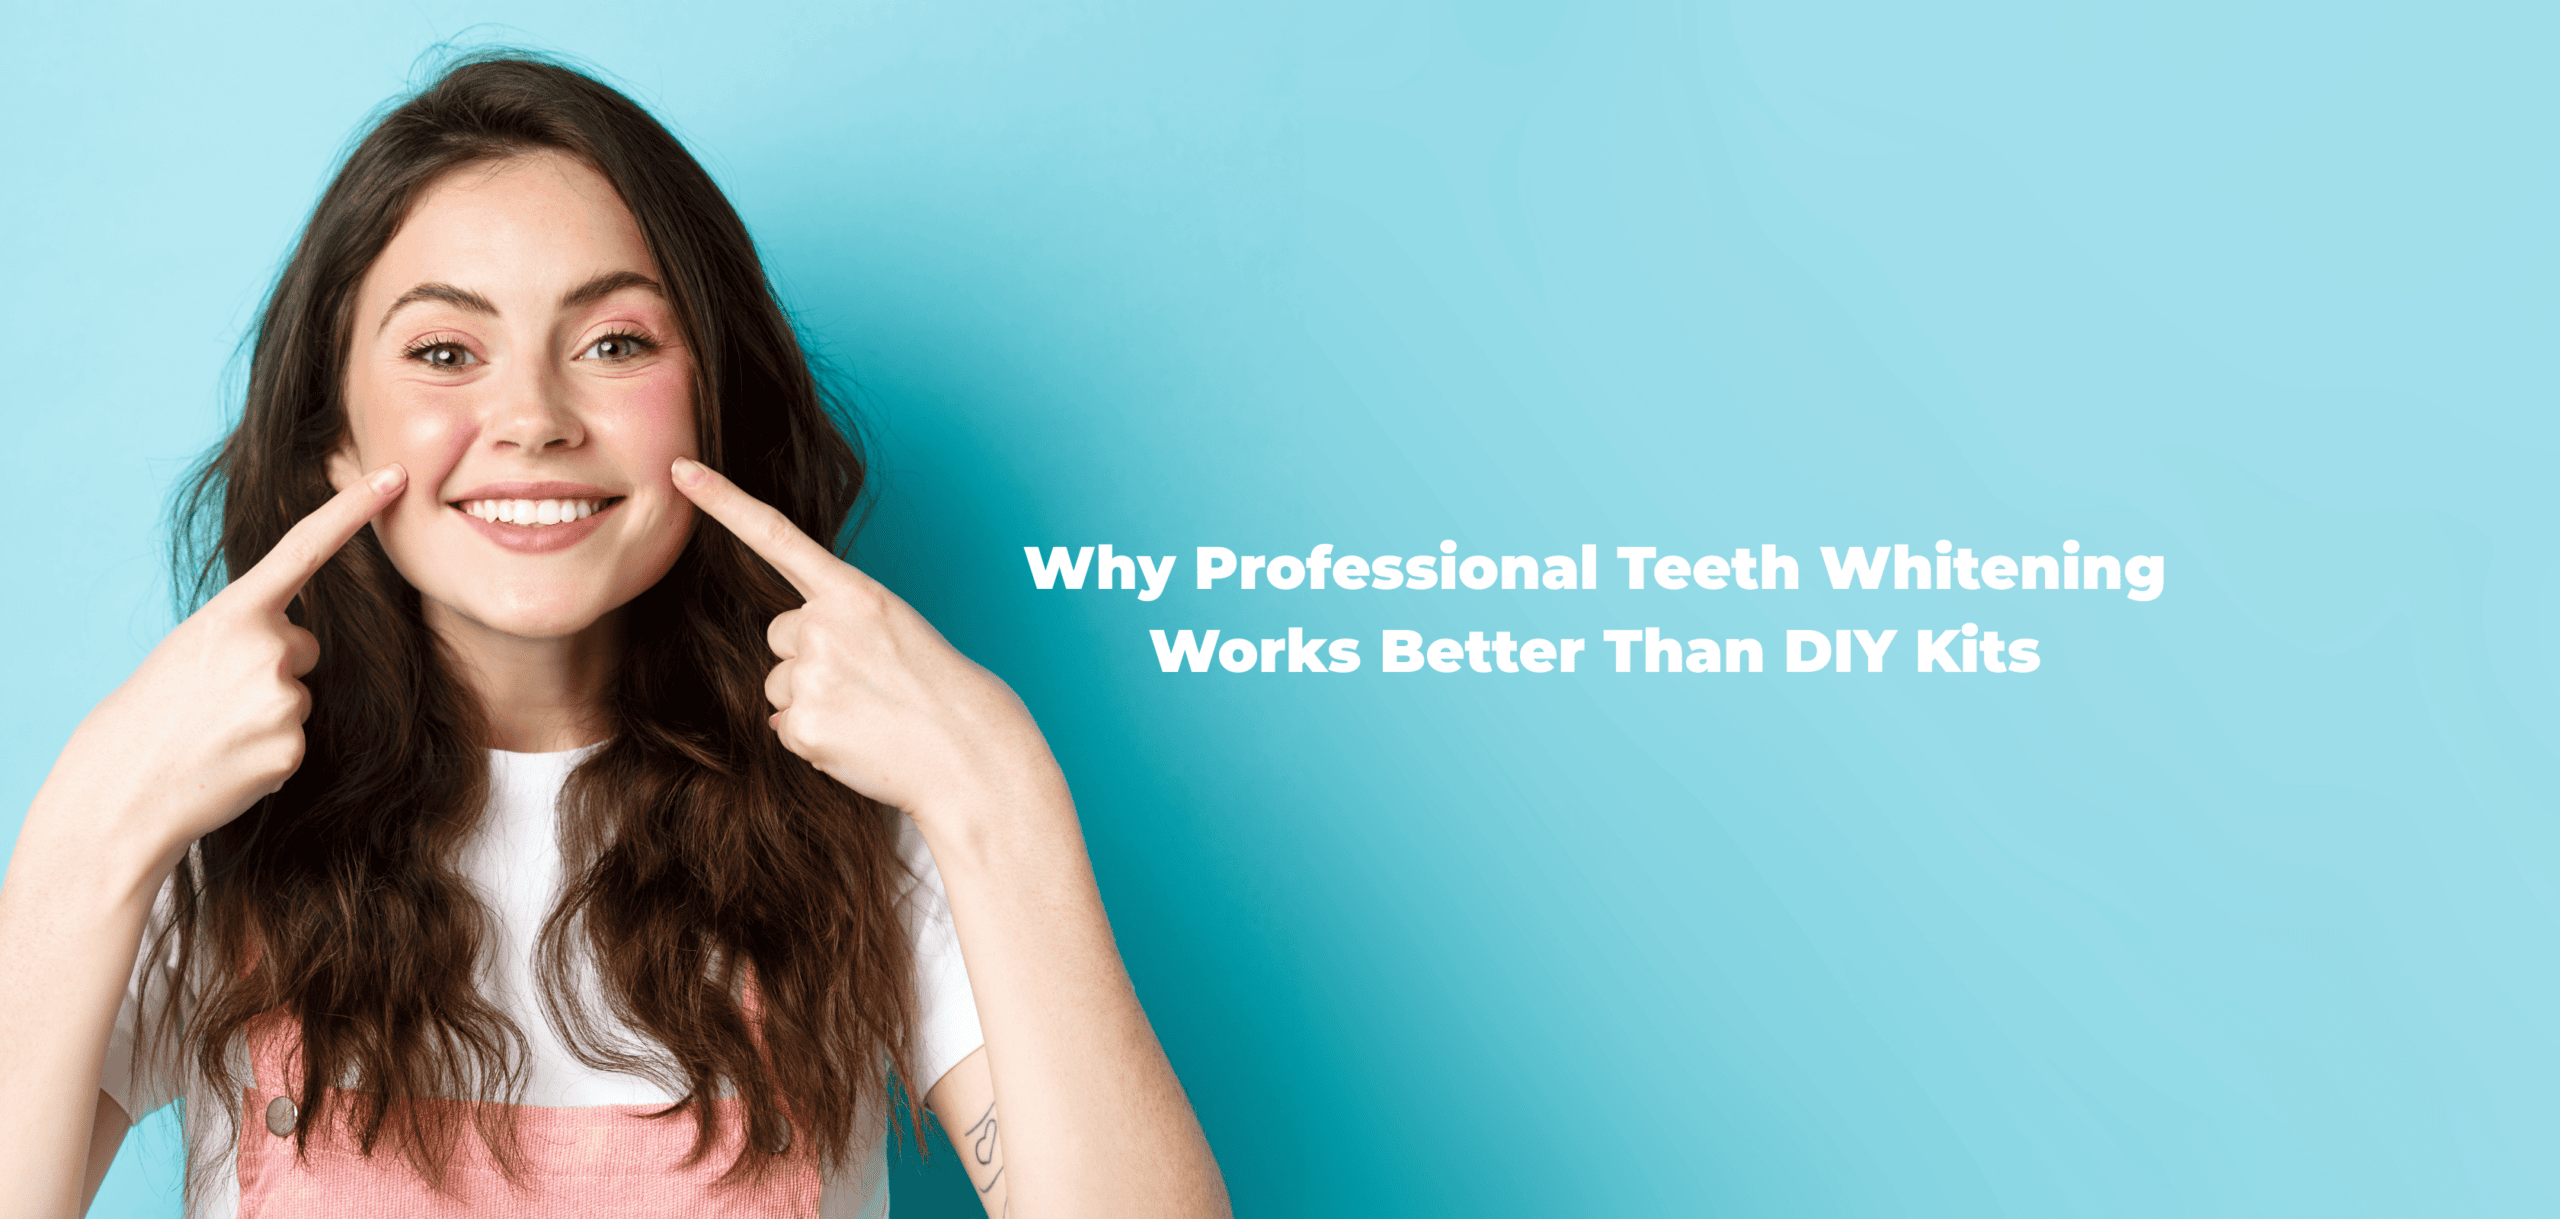
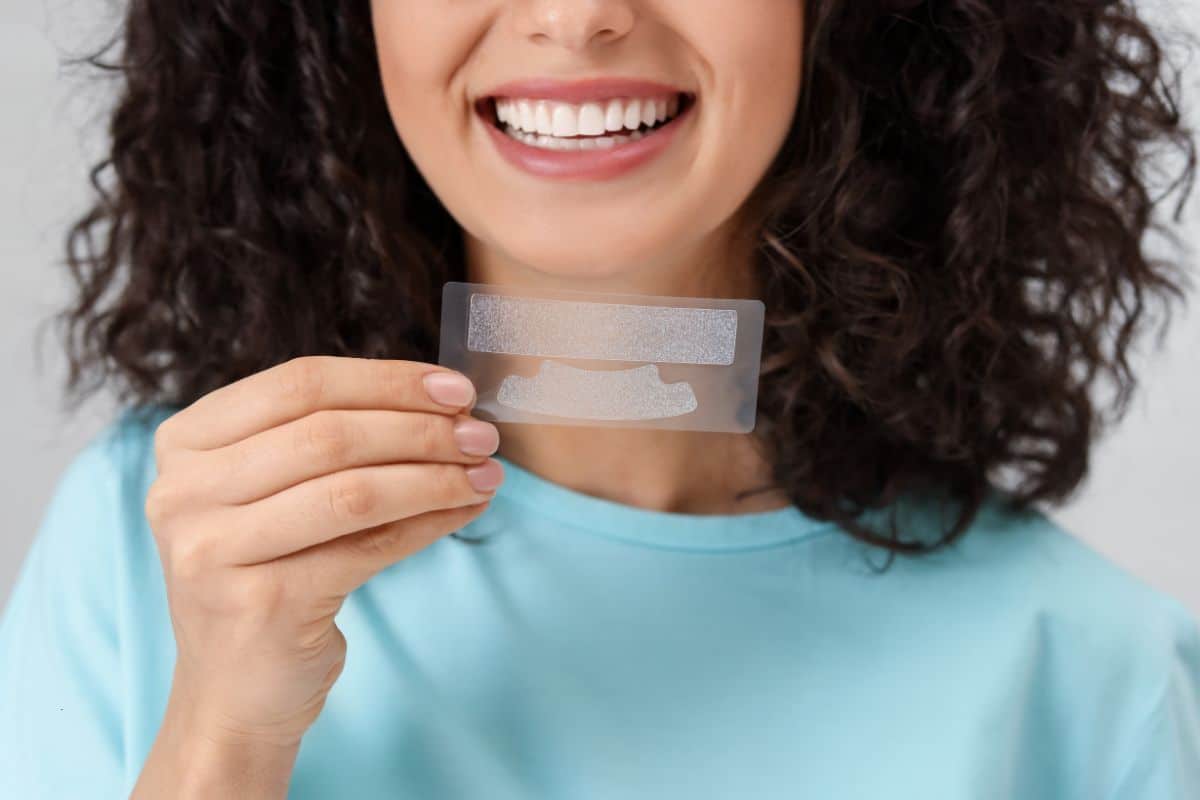
Professional whitening — whether in-office with a high-concentration gel or via custom take-home trays — serves a specific function in a smile makeover: it establishes your shade anchor. Every porcelain restoration (veneer, crown, bridge) will be fabricated to match the color of your natural whitened teeth. This is why whitening happens before placement, not after. Whitening natural teeth after porcelain is in place accomplishes nothing, because porcelain doesn’t respond to bleaching agents.
This is the detail most over-the-counter whitening strip users don’t know, and it’s not trivial. Get your teeth to your desired shade first. Then place any restorations. That’s the sequence.
2. Dental Veneers
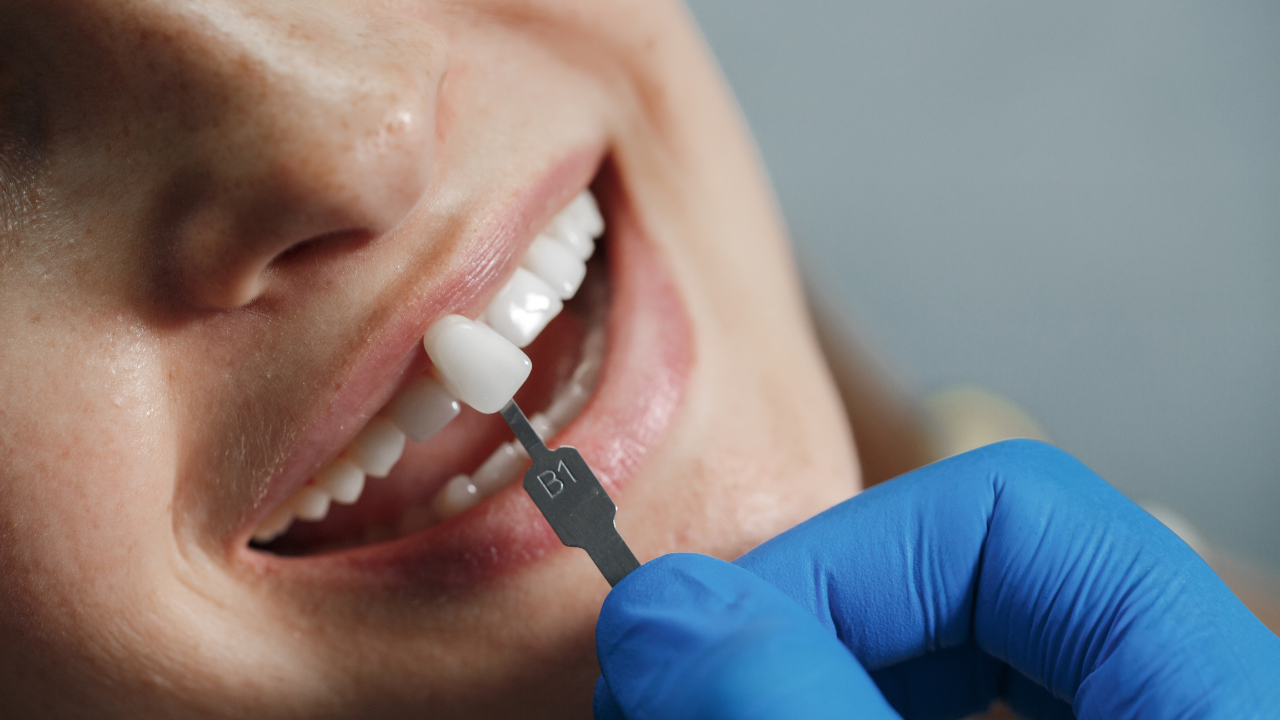
Veneers are thin shells of porcelain or composite material bonded to the front surface of teeth. They address chips, discoloration that whitening can’t reach, minor spacing issues, and tooth shape irregularities — without requiring the full coverage of a crown.
The data on longevity is worth noting: porcelain laminate veneers have a 5-year survival rate of 94.4% and remain viable in roughly 82.9% of cases after 20 years, according to cosmetic dentistry market research. That’s a strong material outcome — but it depends on correct prep, shade matching, and bite evaluation before placement.
Composite veneers are an alternative that cost less and require less tooth preparation, but they stain and wear faster than porcelain. They work well as a trial option or for patients who want a preview of the result before committing to porcelain.
3. Dental Bonding
Bonding uses tooth-colored composite resin to repair chips, close small gaps, or reshape a tooth without removing natural tooth structure. It’s faster and less expensive than veneers, but also less durable — typically lasting 5 to 7 years with proper care before needing touch-ups. For broken or chipped teeth, bonding is often the fastest and most conservative technique available.
4. Dental Crowns
When a tooth is severely damaged, weakened by decay, or has had a root canal, a crown protects and restores the entire tooth structure. In a smile makeover, crowns are used where the structural integrity of the tooth itself is at stake — not just the appearance of the front surface. They’re also used to anchor a bridge when teeth are missing.
5. Clear Aligners
Clear aligners correct crooked or crowded teeth through a series of custom trays that gradually shift tooth position. For patients whose primary concern is alignment, aligners may be the main procedure — and in some cases, the only one needed. For patients who also want veneers or whitening, aligners typically come first, since placing veneers on teeth that will move compromises both investments.
6. Gum Contouring
This is the procedure most people don’t know exists until someone mentions it, and it’s frequently the missing piece in makeovers that look slightly off without an obvious reason. Gum contouring reshapes the gum line to create more even proportions between teeth and gums. If one tooth appears shorter than its neighbors, it’s often because the gum covers more of it — not because the tooth itself is undersized.
Gum contouring can be done with a soft tissue laser, is minimally invasive, and heals quickly. And it changes the visual balance of a smile in ways that restorative work alone simply can’t achieve.
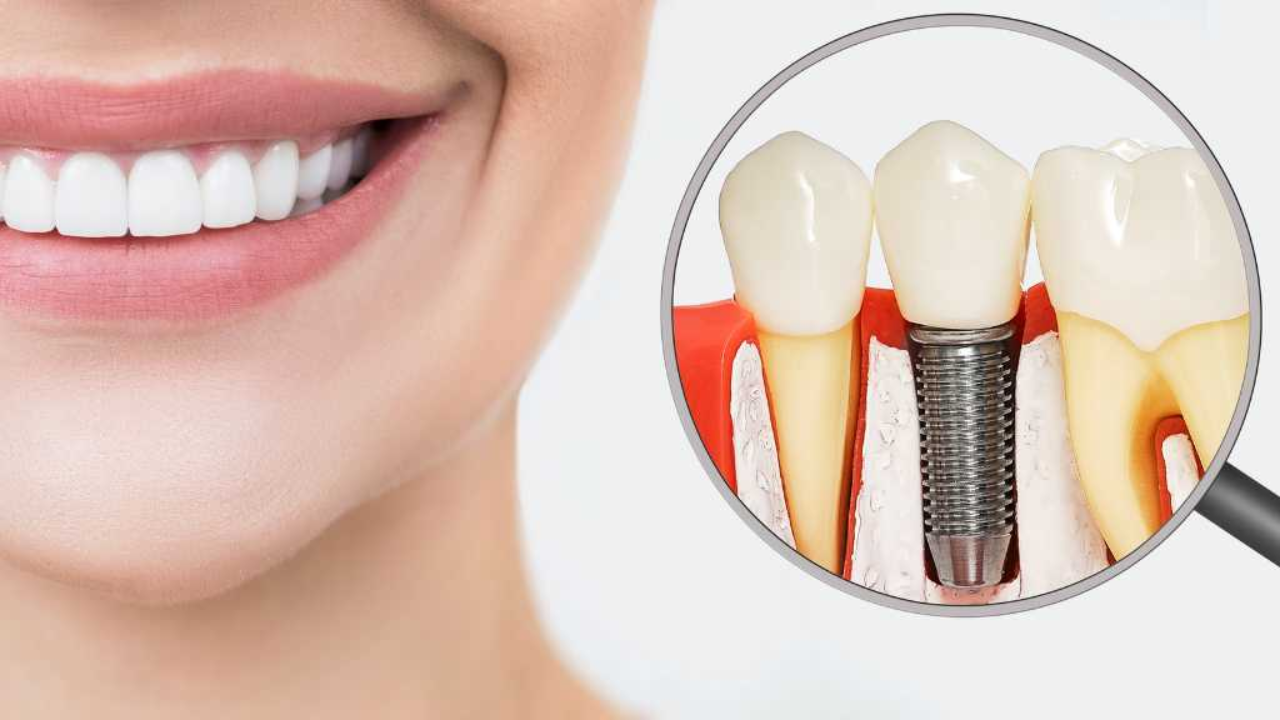
7. Dental Implants
When teeth are missing, implants are the most durable long-term replacement option — a titanium post placed in the jaw that acts as a root, topped with a crown. In a comprehensive smile makeover, implants need to be placed and allowed to integrate with the bone (a process that takes several months) before the rest of the cosmetic work is completed, so that everything is matched in shade and proportion at the final stage.
L — Layer: The Sequence That Protects the Result
Knowing which treatments you need is one thing. Knowing what order to do them in is what separates outcomes that hold from outcomes that need early revision.
The general sequencing principle for a comprehensive makeover:
- Treat any active oral health issues first (gum disease, decay, old restorations)
- Any orthodontic work (clear aligners, braces) — teeth need to be in position before cosmetic restorations are placed
- Implant placement, if needed — bone integration takes time and affects how the final restoration is designed
- Whitening — establishes the shade target before lab fabrications
- Composite or porcelain restorations (bonding, veneers, crowns) — matched to the whitened shade
- Gum contouring — can be done alongside or after restorations depending on the case
This is where most DIY or poorly sequenced makeovers go wrong. Patients who whiten after veneers are already placed see results that can’t be matched. Patients who get veneers before aligners complete treatment end up with restorations that don’t fit the final tooth positions. Patients who skip the gum line evaluation get technically excellent veneers that look visually unbalanced because the frame around them was never addressed.
A beautiful smile is a result. The sequence is the strategy.
E — Elevate: Keeping Your Results
Maintenance is not an afterthought in a smile makeover — it’s stage five of the strategy. Porcelain restorations don’t decay the way natural teeth do, but the teeth around them can. And habits that weren’t a problem with your original teeth can significantly shorten the lifespan of cosmetic work.
The maintenance protocol after a smile makeover includes:
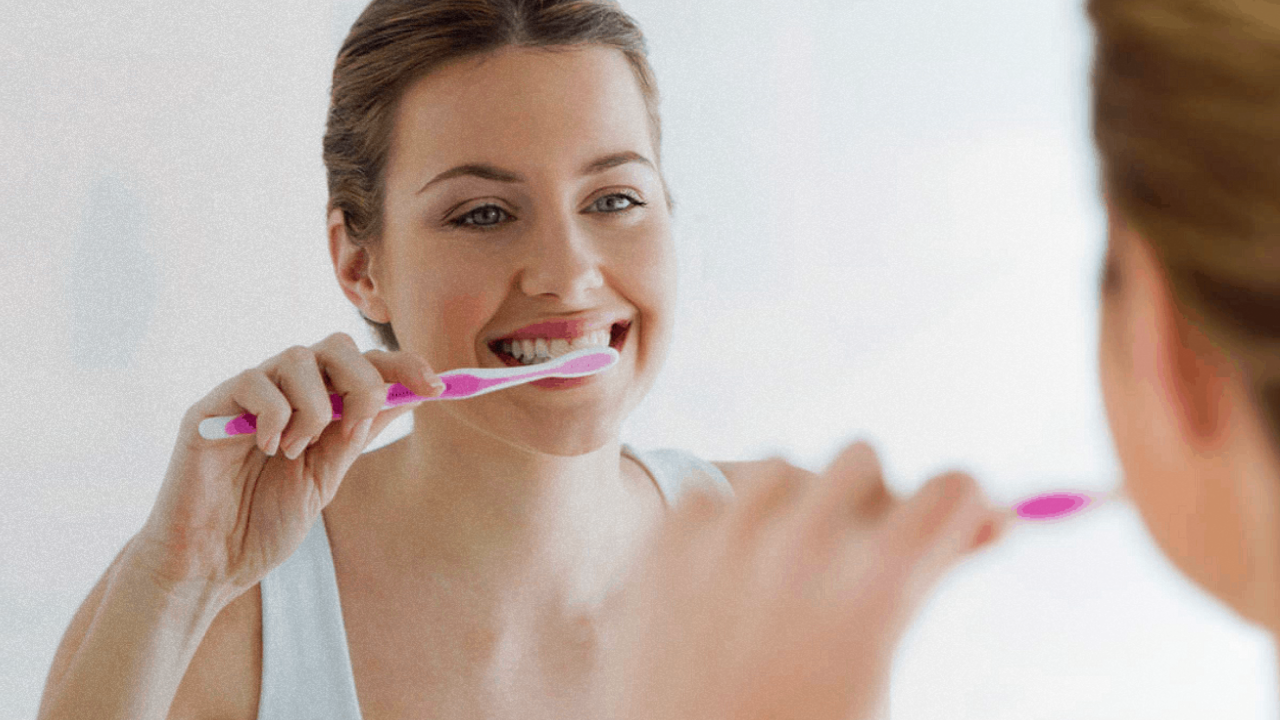
- Regular dental exams and professional cleanings at least twice a year
- A custom night guard if you grind or clench your teeth — a habit that, if unaddressed, will crack veneers and fracture crowns faster than anything else
- Avoiding biting into hard foods directly with your front veneers (use your back teeth for that)
- Touch-up whitening for natural teeth, to keep the shade matched as time passes
If you’ve invested in teeth cleaning and whitening as part of your makeover, professional maintenance appointments protect that investment. At-home care keeps it intact day-to-day.
Patients who treat the maintenance phase as optional tend to come back in three to five years asking why their results have drifted. Patients who build the routine into their lives get 10 to 20 years from the same work.
Digital Smile Design: What’s Actually Changed
 Digital Smile Design (DSD) is a planning tool that uses photography, video, and software to create a preview of your proposed results before any treatment begins. It’s genuinely useful — and it’s genuinely misunderstood.
What it does well: it gives you a realistic visual preview of what’s possible, creates a shared reference point between you and your dentist, and helps catch proportion issues in the planning stage rather than after restorations are made.
What it doesn’t do: it doesn’t guarantee that the final result will match the preview exactly. The digital simulation is a communication tool, not a binding blueprint. Factors like how your gum tissue responds, how the porcelain catches light, and how the color reads against your skin in different conditions are things no software can fully predict in advance.
The practices that use DSD most effectively treat it as a conversation starter, not an endpoint. You see the simulation, discuss what you like and what you’d adjust, and that conversation informs the precise specifications sent to the dental lab. The technology has made communication between patient, dentist, and ceramist significantly better than it was a decade ago. But the craft — the experienced eye that knows whether a tooth proportion is right — is still what separates ordinary results from exceptional ones.
How Long Does a Smile Makeover Take?
The timeline depends almost entirely on which procedures are included. Here’s a realistic breakdown:
- Whitening only: 1–3 visits. Results visible after the first session.
- Bonding: Single visit in most cases, no lab time required.
- Veneers: Typically 2–3 visits over 2–4 weeks — consultation and tooth preparation, then placement at the final visit.
- Clear aligners: 6–24 months, depending on the degree of movement needed.
- Dental implants: 3–6 months from placement to final crown, due to osseointegration time.
- Comprehensive full makeover (multiple procedures): Realistically, 3–12 months. Sometimes longer when orthodontics or implants are involved.
Practices that promise a complete smile transformation in two visits when implants and alignment are involved should be asked very specific questions about what they’re including and what they’re skipping. Speed and quality don’t have to be opposites — but compressing timelines that have biological components always carries trade-offs.
Smile Makeovers in Edinburg & the Rio Grande Valley
The Rio Grande Valley has a few specific considerations that are worth understanding before you begin a smile makeover here.
Access to consistent, high-quality cosmetic dental care has historically been limited in parts of the RGV, which means some patients have delayed treatment for years — sometimes decades. By the time they come in for a cosmetic consultation, there’s often a meaningful amount of underlying restorative work that needs to happen first. That’s not a barrier to results; it’s just a longer runway to the finish line.
Cost is also a genuine factor for many families in Edinburg, McAllen, and Pharr. The important framing here: a staged approach — addressing the highest-priority elements first and completing additional procedures over time — is both clinically acceptable and financially manageable. You don’t have to do everything at once. Many patients start with whitening and bonding, then move to veneers 12 to 18 months later when they’re ready. The results stack.